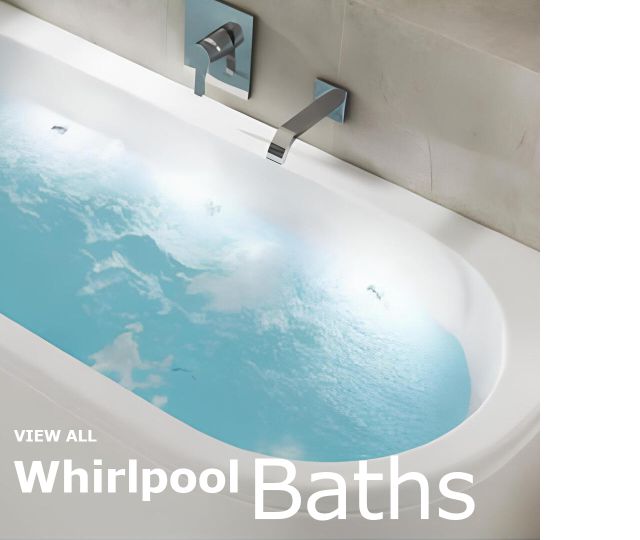
Tips for easily fitting a new whirlpool bath
Installing a whirlpool bath is really easy. There is very little difference between fitting a whirlpool bath and a normal bath. Read on for our tips and hints.
1. Do whirlpool baths need electricity?
2. Whirlpool bath electrical requirements.
3. Bath installation tips.
4. How to commission a whirlpool bath.
5. Should an access panel be fitted?
6. Maintaining a whirlpool bath.
7. Tips for removing small scratches.
8. Luna Spas warranty.

1. Do whirlpool baths need electricity?
The main thing to be noted about fitting a whirlpool bath is that it is no more difficult than fitting a regular bath tub. The plumbing is exactly the same, the only real difference is that a whirlpool bath requires a standard 13 amp supply running to it, observing the current IEE regulations. This single supply is sufficient for many of the options you may wish to specify to your new whirlpool bath, such as chromotherapy lighting or Bluetooth bath sound. If you are specifying a thermotherapy heater (1.5 kw), it is recommended that this runs off a separate 13 amp feed. So, in simple terms it is just a case of running an electrical supply to where the bath will be situated. This easily connects to the electrical component(s) (connection with a 13 amp plug is not permitted for whirlpool and spa pumps) then fit the bath as you would a normal bath.
2. Whirlpool bath electrical requirements.
1) All of the electrical connections required must be handled by an approved and qualified electrician. These should all be done in strict compliance with the current IEE regulations.
2) The maximum load is marked on the pump motor plate and requires a ring main, nominally maximum 13 amp fused spur as an electrical supply.
3) The pump must be connected via a permanent connection to the electrical supply. It is strictly forbidden to make the connection with a plug. This is not permitted for both whirlpool pumps and spa blowers.
4) The electric supply must be fitted with a circuit breaker, which separates the pump on all poles from the supply with a separation distance of at least 3mm. The circuit breaker can be either an automatic cut out, a switch, an isolator or a ground fault indicator.
5) It is recommended to supply the pump only by means of a ground fault indicator with a release current of 30 mA.
*NOTE: These instructions are for guidance only and it is the installers responsibility for compliance to current and relevant regulations.
3. Bath installation tips.
1) Before the installation remove the packing and make sure the bath is not damaged. During the installation protect the bath in an appropriate method (e.g. with cardboard, blanket, or bubble foil). After the finished installation the Luna Spas warranty applies only to hidden material defects.
2) Before the installation of the bath, install the supply of hot and cold water and the drain.
3) Build the bath into the space with finished wall tilling or plaster, which overlaps by 10cm under the bath’s edge. You can provide the rim of the bath with a sound damping tape.
4) The floor under the bath has to be a firm, inelastic surface and on an even plain.
5) Install the bath with the leg set provided.
6) Mount the water overflow and drain set.
7) Fill the bath with water to the water overflow, check the tightness of the drain set, control the bath’s position and make tight the joints on the bath’s perimeter (max. 5mm) with sanitary silicone filler or sealing tape.
8) The sides of the bath which do not adjoin to the wall can be lined and tiled or you can use a bath panel. Remember to leave a removable panel for maintenance and inspection. It is possible to tile the whole circumference of the bath or only some parts.
4. How to commission a whirlpool bath.
Commissioning a whirlpool bath is easy and is recommended. All our baths are fully tested before shipping but as they have to go through the transport network it is recommended they are checked again before tiling in or fitting the panel. This is simple to do and involves filling the bath to an inch over the highest jet and letting the system run for 10 minutes. Turn the system off and let stand, ideally overnight. Then go round each jet and pipe join and check for any drips of water.
5. Should an access panel be fitted?
In short — yes. Although all our whirlpool baths are built to an extremely high standard and fully tested before shipping, it is recommended when installing that an access panel is fitted. This is usually a removable panel or similar to allow access to components. If the bath is being installed against a wall sometimes access from the adjoining room is the best solution.
Please note all our baths are built to order and we can tailor make to your preference. If you require the pumps on the right hand side for example please let us know and we can do this for you. To find out more about this please read 'Tailor made whirlpool baths'.
6. Maintaining a whirlpool bath.
Maintaining a Luna Spas whirlpool bath is simple, as discussed on the following page. By following the steps discussed in the article there really is no effort or time wasted in caring for your whirlpool bath, ensuring trouble free ownership for many, many years to come.
7. Tips for removing any small scratches after installation.
Should you find small scratches after installation it is sufficient to polish them out use a polishing agent (such as Brasso). If the installer makes a deep gash into the acrylic then to remove it you must grind the damaged place with water resistant abrasive paper of grain size 600, and then with fine abrasive paper of grain size 1000. Finally you will use the polishing agent for chrome and the bath will be as good as new.
8. The Luna Spas Warranty
For piece of mind it worth noting that all Luna Spas whirlpool systems have been manufactured to the highest standards, and providing the above is adhered to, will give many years of trouble free use and enjoyment. We are pleased therefore to offer a 5 Year Parts Warranty on the complete whirlpool systems we build and supply to you.